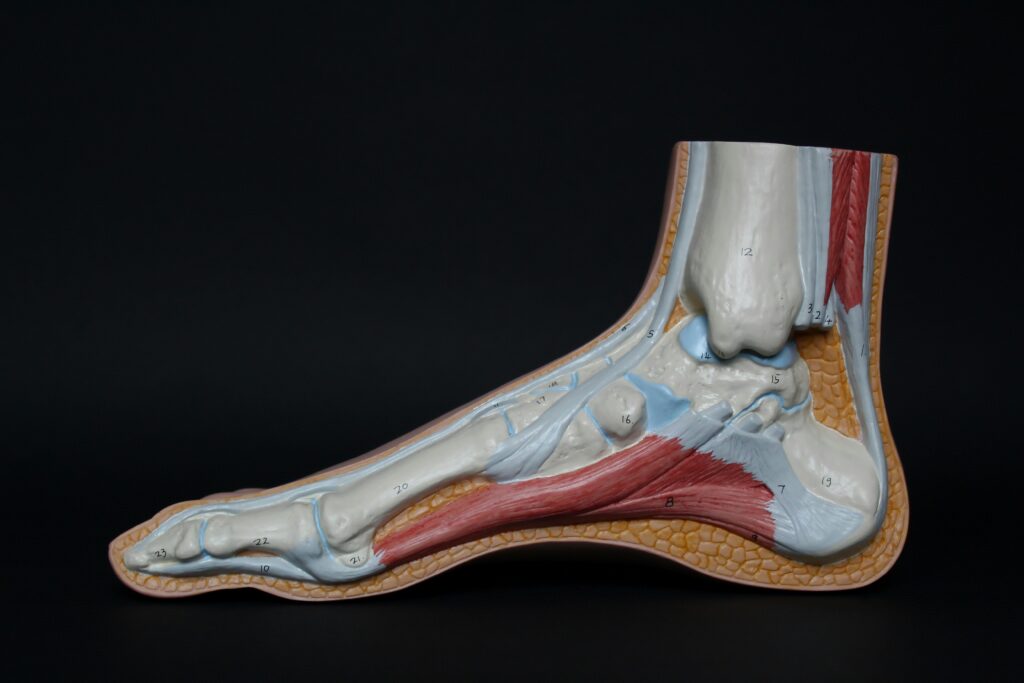
The Achilles Tendon is something that most runners don’t spend a lot of time thinking about… that is, until an overuse injury stops them in their tracks and they are forced to take time off of running. I’ve talked before about how tendons take much longer to develop than muscles and the cardiorespiratory system, so once runners achieve cardiorespiratory adaptations, they tend to continue adding more mileage until they get to the point that their tendons can’t support the load.
Cardio, Muscles, and Tendons
Cardiorespiratory and muscle adaptations occur relatively quickly because of higher blood flow to these areas. Tendons, on the other hand, adapt more slowly because collagen turnover and tissue remodeling take longer. This gap often creates a window where you feel very fit (and you have gained a lot of fitness!) and you want to increase mileage or intensity, but your tendons are not fully adapted to handle the extra load. This can increase risk of overuse injuries for runners and limit runners’ capacity to increase volume.
Tendon Development Progression
Runners dealing with Achilles Tendon symptoms should always get the appropriate professional support, but it’s important that we don’t leave all the tendon work in the physical therapist’s office. Unless we want to continue running into the same issues with our tendons as we continue to increase volume, it’s important to start developing our tendon’s capacity to handle the volume just as much as we develop our muscular system and our cardiorespiratory system.
Beyond just tolerating load, we can also eventually incorporate plyometric work because we don’t just want durable tendons, we want springy and resilient tendons that will actually help propel us forward. Plyometrics means jumping and explosive work and these exercises work best after the strength is already in place.
This article outlines a tendon-loading progression for runners who want to build Achilles capacity through progressive loading. We’ll start with developing a baseline load tolerance with isometric work, move into slow heavy lifting and eccentric work, and finally add in some plyometric work.
If you’re dealing with pain or a diagnosed injury, use this alongside guidance from a licensed clinician.
Progression Through the Phases:
Start at Phase 1 and move through Phase 3. Always start at bodyweight or a light weight and add weight very gradually. Take 48 hours between sessions. Monitor for increases in stiffness or any signs of pain between sessions. If you are getting stiffness or pain, move back a phase or move down in weight.
When to Pause or Seek Evaluation:
If you have an insertional Achilles Tendon injury, lowering to the dorsiflexed position can irritate your Achilles, so try to keep things on flat ground rather than doing anything off of a step.
If you notice any sudden sharp pain, visible deformities, or feel or hear a “pop”, stop immediately. Try to progress through these gradually to make sure your body can tolerate the load.
Phase 1: Isometric Holds (1-2 Weeks Minimum)
Goal: Build baseline load tolerance and introduce Achilles loading without excessive strain.
When & Where: Do these 2–3 times per week. You can place them before a run as a primer or use them later in the day as a standalone tendon-loading session. These can easily be done at home with dumbbells and a weighted vest.
Effort Level: Mild discomfort and calf fatigue, you may notice a dull burning sensation
How to progress: Stay here for at least 1-2 weeks, or until you can complete 4 x 45-second holds with a heavy load and no increase in pain or stiffness over the next 48 hours.
The Exercises:
- Single-Leg Straight-Leg Calf Raise Holds: 3-4 sets of 45 seconds
- Start at bodyweight and add weight as you’re able to
- These work the gastrocnemius
- Single-Leg Bent-Knee Calf-Raise Holds: 3-4 sets of 45 seconds
- Start at bodyweight and add weight as you’re able to
- These work the soleus
Transition to Phase 2:
Once you are tolerating Phase 1 well, progress to heavier calf loading to build more strength and tendon stiffness.
Phase 2: Heavy Slow Lifting + Eccentrics (4-6 Weeks)
Goal: Increase tendon stiffness and strength.
When & Where: Do these 2-3 times per week at the end of a strength session. Start with the warm-up hold, then move into the eccentric lowers and the slow heavy calf raises. This phase should be kept in place for at least 4-6 weeks, and should still be incorporated after you introduce Phase 3 exercises! Do these at the gym using the Smith Machine or Standing Calf Raise Machine.
Effort level: All of these should be done with weight. You should be at an 8/10 RPE on the last couple of reps in each set.
The Exercises: You’ll do all three of these exercises together each session and add weight over time.
- Single-Leg Calf Raise Hold with Weight: Warm-Up. 1×45 seconds (each side)
- Single-Leg Eccentric Lowers: 2-3 sets of 8 reps (up with 2 legs, down on 1 leg over 3 seconds)
- Heavy Slow Single-Leg Calf Raises: 2-3 sets of 8 reps (3 seconds up, 3 seconds down)
Do straight-leg and bent-leg variations in alternating sessions to hit both the soleus and the gastrocnemius.
Start these with a similar weight you were using for Phase 1 and then add weight as you are able to.
Transition to Phase 3:
Once heavy slow loading is well-tolerated, begin adding plyometrics. Plyometrics help the Achilles Tendon store and release energy more efficiently, which is especially useful for running economy.
Phase 3: Plyometrics (Ongoing)
Goal: Train the Achilles Tendon to act like a spring.
When & Where: Do these 2-3x a week before your strength training or as a separate workout. Gradually start incorporating these into your workouts. Start with the double-leg pogo hops and move onto the next step once you’re able to. I recommend continuing to incorporate a couple sets of the exercises from Phase 2 once you start these. You can do these at home or at the gym.
The Exercises:
- Double-leg pogo hops: These are small hops on the balls of your feet with your knees bent slightly.
- 2-3 sets of 15 jumps. Focus on landing quickly like you are bouncing off a hot stove with a sense of “springing” or like a pogo stick jump
- Double-leg forward/backward hops: The same types of small hops but moving forward 10 hops and backward 10 hops
- 2-3 sets of 10 forward and 10 backward hops
- Single-leg pogo hops: Move to single leg once the double leg hops are feeling easier and you aren’t having any pain in the 48 hours after the workout
- 2-3 sets of 8-10 reps per leg
- Single-leg pogo hops forward and backwards
- 2-3 sets of 5 forward hops and 5 backwards hops per leg
Tendon development is all about the long game. Adaptations take 8-12 weeks, so consistency with these matters. Progress gradually, monitor stiffness and pain, and resist the urge to rush the process. Durable, springy tendons are built over time, not in a day.
This article is for educational purposes only and does not replace medical evaluation, diagnosis, or individualized rehabilitation. If you have Achilles pain, a suspected tear, or a diagnosed tendon injury, consult a physical therapist, physician, or other qualified clinician before starting or progressing any exercise plan.
